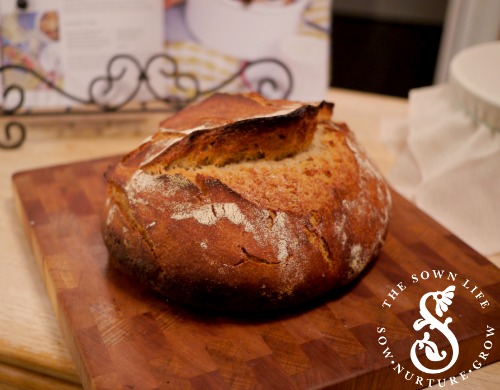
I know for many of you that making your own sourdough bread starter is very daunting. I don’t blame you at all, it can be finicky because you are dealing with a live culture. It’s pretty cool when you think about it. I’ve been experimenting and I think I’ve come up with a good step by step guide for you. Making your own sourdough is really worth the effort. In fact, the same starter, properly cared for, can live for years and it just gets better and better as it increases in potency. By trial and error, I’ve come to the conclusion that rye flour works best for the starter. I have used wheat and it lost its potency in about two weeks and my bread became too dense. For sourdough, you want potent but also a light texture.
You will need:
Fresh milled organic rye seed
Cold water
Large bowl
Cheesecloth
Rubber Band
Directions:
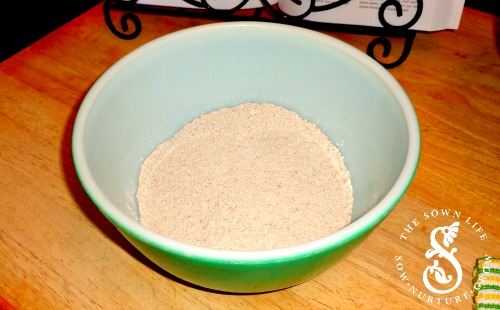
- I started here with 1 cup of fresh milled organic rye seed. If you don’t have your own mill you can purchase rye flour. I would recommend storing the flour in the freezer as whole grain flours can go rancid in about three days. Just make sure to let the flour sit at room temperature before using it to feed the starter.
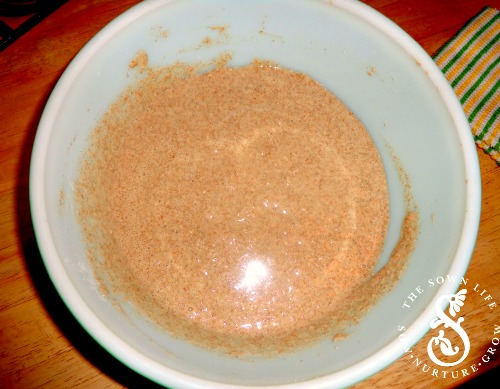
 2. Add 1 cup of cold filtered water to make a soupy consistency.
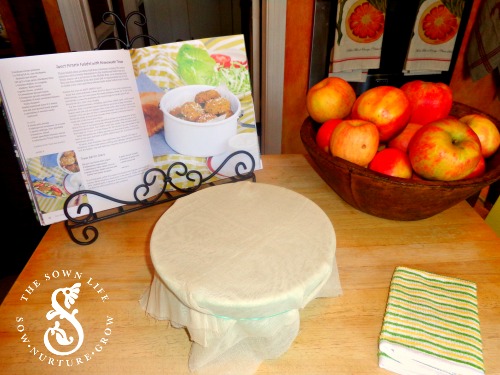
- The bowl is then covered with a layer of cheesecloth so the starter can breathe. Remember, we are creating a living organism! Secure the cloth tightly with a rubber band and store in a warm, dry place, like a cupboard. This is best for fermentation!
4. Daily, I transfer everything to a clean bowl and add 1 cup of the fresh ground rye flour and approximately 1 cup of cold filtered water, or until it is a soupy consistency. Again, if you have stored rye flour in the freezer, make sure it is room temperature before using it or it will alter your starter results.
5. By day 3 or 4, your starter will begin to bubble at the top and smell like beer. You know by this smell that it is alive! By about day 7, the bubbles on your starter will subside and that’s when you know it’s ready to be used! Refer to my Sourdough Bread recipe for actually using the starter to make bread.
 6. To maintain your starter:
If you are using it within the next couple of days, leave it out on the counter and discard half every day and feed it with new flour and water. Basically, you repeat step 4 until use.
For long-term care, cover tightly and place in the fridge, remember to take it out and feed it once a week. You will need to discard approximately half and then feed it with flour and water. I also usually let the starter sit out overnight after feeding it to give the yeast time to recuperate.
Continue to use rye flour to feed the starter but you can use wheat flour to bake with. Just remember, your starter is a living thing! It must be fed. I know people who have had the same starter for years. Every week you can either use, give away, or throw away about half of it.
Happy baking!

|
|
- I started here with 1 cup of fresh milled organic rye seed. If you don’t have your own mill you can purchase rye flour. I would recommend storing the flour in the freezer as whole grain flours can go rancid in about three days. Just make sure to let the flour sit at room temperature before using it to feed the starter.
- Add 1 cup of cold filtered water to make a soupy consistency.
- The bowl is then covered with a layer of cheesecloth so the starter can breathe. Remember, we are creating a living organism! Secure the cloth tightly with a rubber band and store in a warm, dry place, like a cupboard. This is best for fermentation!
- Daily, I transfer everything to a clean bowl and add 1 cup of the fresh ground rye flour and approximately 1 cup of cold filtered water, or until it is a soupy consistency. Again, if you have stored rye flour in the freezer, make sure it is room temperature before using it or it will alter your starter results.
- By day 3 or 4, your starter will begin to bubble at the top and smell like beer. You know by this smell that it is alive! By about day 7, the bubbles on your starter will subside and that’s when you know it’s ready to be used! Refer to my Sourdough Bread recipe for actually using the starter to make bread.
- To maintain your starter: If you are using it within the next couple of days, leave it out on the counter and discard half every day and feed it with new flour and water. Basically, you repeat step 4 until use. For long-term care, cover tightly and place in the fridge, remember to take it out and feed it once a week. You will need to discard approximately half and then feed it with flour and water. I also usually let the starter sit out overnight after feeding it to give the yeast time to recuperate. Continue to use rye flour to feed the starter but you can use wheat flour to bake with. Just remember, your starter is a living thing! It must be fed. I know people who have had the same starter for years. Every week you can either use, give away, or throw away about half of it.
© The Sown Life LLC, 2019